
|
All content on this site Copyright
©2002-2006 Dave Pinx. All rights reserved.
|
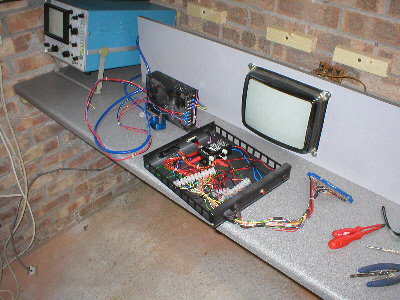 |
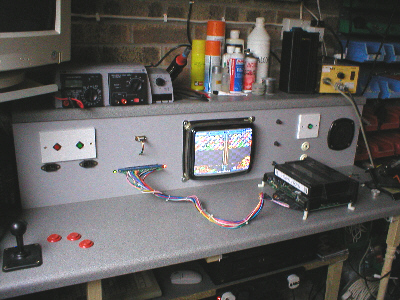
Jamma Wiring. With
the monitor in place it was time to add some of the wiring and the power
supply, so it would give me an idea of where i needed to fit other stuff
on the bench, as i didnt want it to look clutter'd. |
![]()
|
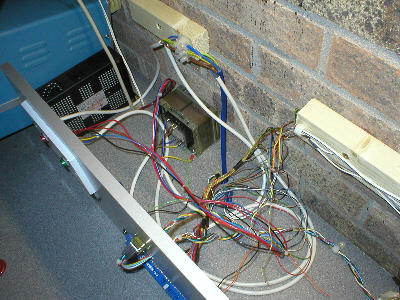
Power supply & Isolation transfomer. Once i had the PSU in place i could work out where i was going to put the Isolation transfomer (which i had robbed from an old jamma cab) and where all the wiring would need to go for the RGB and power outlets for when i need to test and work on monitors. Luckily i knew the iso transformer had been powering a Hantarex 9000 monitor in the past, so i dug out the manual for this model and wired it accordingly. What i also had to bear in mind, is that Hantarex changed their RGB wiring between certain models and swopped the position of the RED and BLUE wires on the chasis connector, rather than make life complicated, i decided to do the mods when i make adapter looms, so each loom that plugs in the front will be for what ever monitor i.e. Hantarex 9000, Hantarex polo, Wells Gardner etc... |
 |
![]()
|
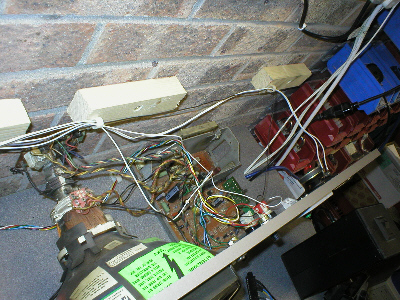
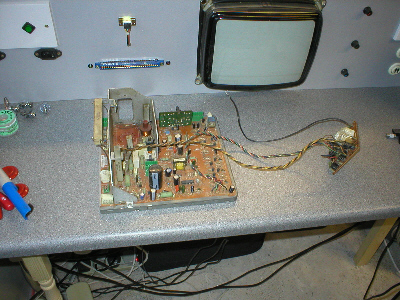
Chasis position. With
all the power wiring sorted, it gave me a chance to work out where
i would put the monitor chasis and considering i still had to allow
for the Jamma edge connector, i decided to put the chasis on the right
hand side, which would still leave me space for a speaker, credit
button and 1 and 2 player start buttons. |
 |
![]()
 |
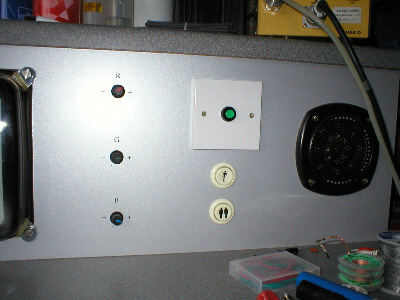
Connectors
for jamma, RGB. |
![]()
|
Adjustments for RGB. Again to make things as versitile as possible, i decided to add RGB level cut offs, so that i could fine tune any image on the test bench monitor, as aging game pcb's all give out different levels of video. By having these, it will save me having to take off the top of the bench and fiddling with the neck card pots. These are just 10K pots, i also bought rubber knobs (colour coded RGB) to make the job nice and tidy, as a finishing touch i also added some letterset. (Pots and rubber knobs, sourced from Maplins ) |
|
![]()
 |
 |
|
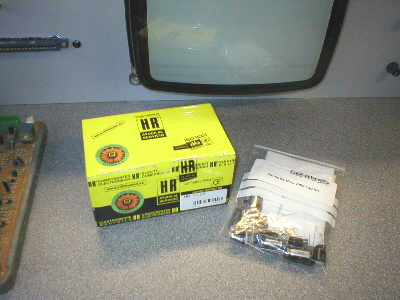
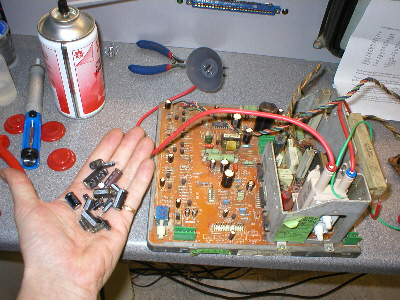
Monitor chasis re-build. It was then time to look at getting the 10" monitor working and so i needed to souce a few bits. Craig (Ordyne) another member from #Jamma+ forums and also the owner of Giz10p games supplied me with all the parts i needed to rebuild the 10" Hantarex chasis, all at very good prices too.... A brand new line output transformer (LOPT) a chasis Cap kit (decent panasonic ones) and a scrap 9000 chasis that i could rob missing parts off (transistors, resistors etc..) |
![]()
 |
 |
|
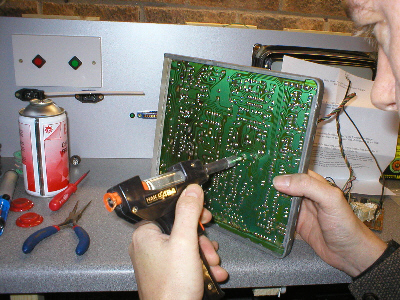
Monitor chasis re-build cont. I started by re-capping the chasis first (handy having a de-soldering station, makes light work of removing things on mass), then i replaced all the missing components and finally finished off by fitting the new line output transformer. Doing all this should of given me a nice clean and crisp picture, but when starting her up for the first time, it became apparant that something wasn't working and there was no glow from the heater in the neck of the tube. So it was time to source a new tube and luckily enough a guy was selling Playchoice 10 bits on ebay, so i emailed him and asked him if he had the 10" monitor and he said yes but it didnt work, so i bought this off him and swopped the tube from it into the bench but used the chasis i had rebuilt and bingo !!!! |
![]()
|
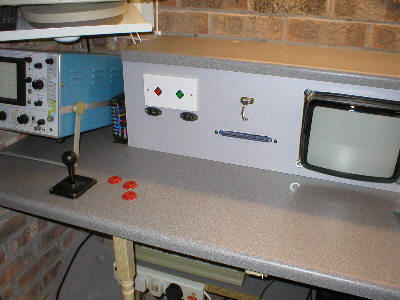
Up and running.
|
 |
|
Click
banner for home
|
![]()