
|
All content on this site Copyright
©2002-2006 Dave Pinx. All rights reserved.
|
|
My
old test bench (which was just an old computer
desk) was starting to show its age and was also starting to bow
under all the weight of the test equipment. So i decided to build myself
a new one from scratch, so i could incorporate a few much needed modifications.
With the new set up i wanted to be able to work on monitors as well
as game pcb's. I also wanted to have a variable power supply so i could
work on Atari Vector games. But on the whole i wanted more of a working
enviroment, as the old bench was a bit on the cramped side!
|
![]()
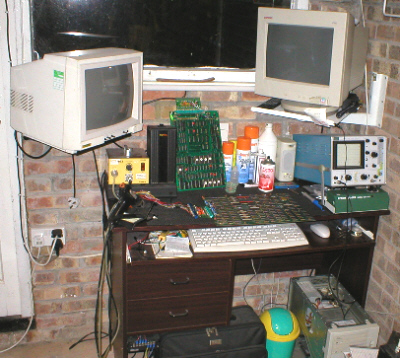 |
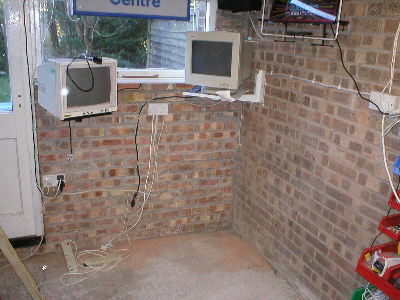
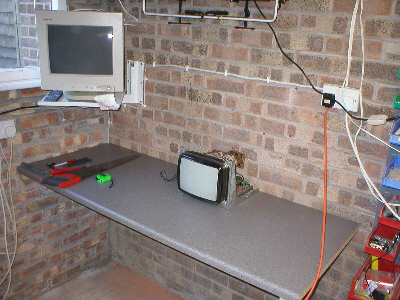
How things were. As you can see by the pic, the old computer desk i was using wasn't designed to take all the equipment i was putting on it. It was starting to bow in the middle and i was seriously hampered for space. So i decided a re-fit was on the cards in the form of a custom made bench, that way i could make it to my own specifications and make it as versatile as i needed. As i have been doing alot more monitor work lately, i decided to incorperate being able to work on those too. So the priorities are: 1. Space, make it as big as possible, within the restraints of the workshop. 2. Incorperate everything i need, including controls, power outlets, etc.. 3. Allow for monitor work, RGB outputs and iso transformer outlets. |
![]()
|
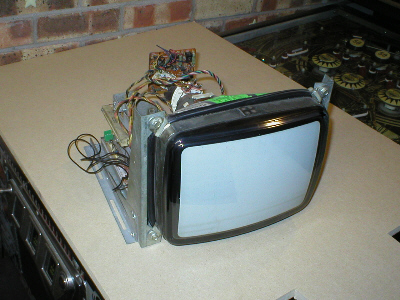
Where to start. I decided to start by sourcing all the bits i needed, so everything was at hand, which makes it easier to ad-lib on the design side of things, but i did have a rough idea in my head what i wanted and the center piece of the bench was going to be a small test rig monitor, rather than the cub monitor i had used in the past, which didnt sync on all game pcb's. So i needed a small Arcade type monitor, where could i get such a thing ? Well i remembered that the Nintendo Playchoice 10 and Sega Megatech both used 10" monitors for the menu system. So i put the word about and Guddler from #Jamma+ forums (Cheers Mart) had one that had been robbed for parts and was also missing its Lopt. With this aquired i needed to source the materials to build the bench itself. |
 |
![]()
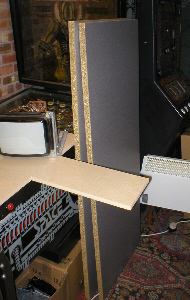 |
Materials. So i trundled off down to B&Q and had a mooch around to see what i could use. They did kitchen worktop in a variety of colours, widths and lengths, so i got them to cut me a length of "granite grey" worktop in half. I then bought a length of grey Conti board and a couple of turned wooden legs and finally went into the timber section and bought some lengths of planed 2x1 timber. Obviously i did all this after i had measured the area i was going to build the bench in.... |
 |
![]()
 |
 |
|
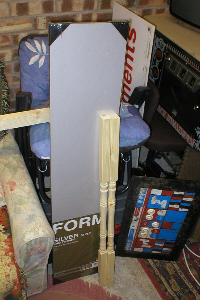
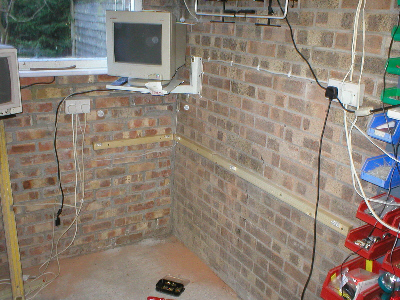
Designated area. Once i had cleared the "designated" area (get me with the big word) i measured out and cut some of the 2x1 timber to the length and width the bench was going to be. I then drilled and plugged the wall and fasten'd these battens to the wall with some very long screws... |
![]()
 |
 |
|
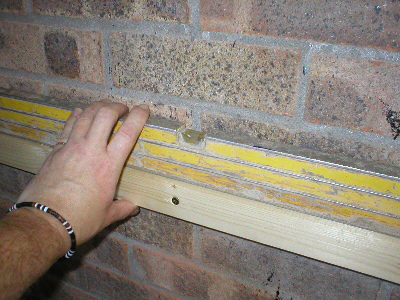
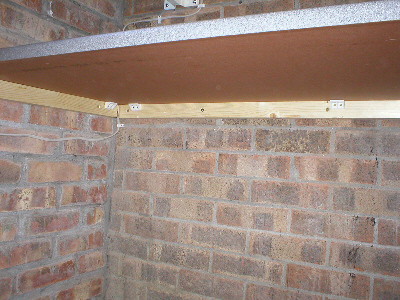
Designated area cont.. ....obviously making sure it was level first. Then i used some plastic 90 degree corner fixings (yes B&Q again) to attatch the kitchen worktop to the batten, not only does it fasten the worktop to the wall it also helped to give the bench its rigidity and also stop any warping once the worktop gets used to the climate of the workshop. |
![]()
 |
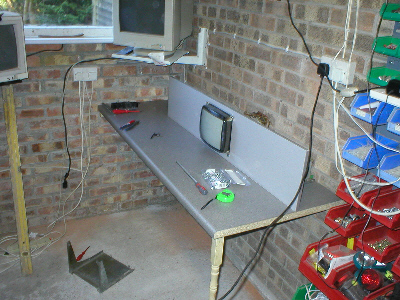
The beginings of a bench. Once i had the worktop in place i could then work out where i wanted things to go and decided that the test rig monitor would go in the middle and everything else would pan out around it. I needed to allow a space for my Oscilloscope and seeings as i already had my pc monitor on the wall at one end and i knew my Scope would fit under it, i measured off a length of the Conti board and cut it to size. |
![]()
|
The beginings of a bench cont. I then measured out the center of the Conti board, measured the dimensions of the screen on the monitor and cut out the hole with a Jig saw. I had to remove the monitor from its frame, otherwise it wouldnt of fitted the Conti board (this was the largest size board they did) by doing this though gave me the freedom to mount the chasis, where ever i liked, which turned out to be a god send, so i cant complain. I then bolted the monitor tube to the Conti board and positioned it so that the neck card was about 10mm from the wall and then fastened the Conti board to the worktop with the same plastic 90 degree fastenings that i used on the worktop/batten fixing. |
 |
![]()
![]()
![]()